Johnny Five, how to light a LED
New Course Coming Soon:
Get Really Good at Git
Learn how to talk to electronic devices using JavaScript
This post is part of the Johnny Five series. See the first post here.
Create a folder and initialize npm:
npm init -y
Install Johnny Five locally:
npm install johnny-five
Now create a app.js file, with this content:
const { Board, Led } = require("johnny-five")
const board = new Board()

board.on("ready", () => {
  const led = new Led(13)
  led.blink()
})
This program initializes a new board by calling new Board().
When the board is ready the ready event is fired on the board object, and in the callback function we can do what our app is supposed to do.
In this simple example, we initialize a new LED on pin 13, by initializing a new Led object, and we blink it (we turn it on/off indefinitely).
The Led object and the Board object are two of the many functionality offered by the Johnny Five library.
Pin 13 on the Arduino Uno board is the pin that is connected to the built-in LED.
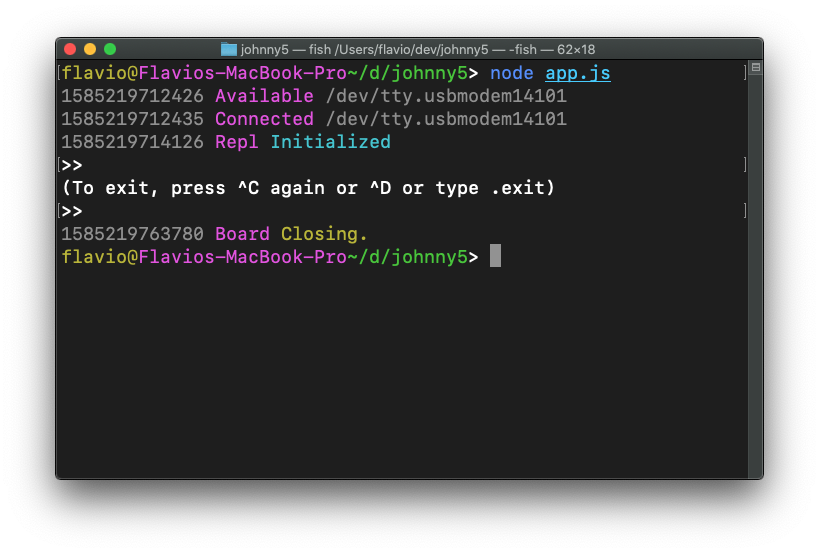
Now run the program using node app.js:
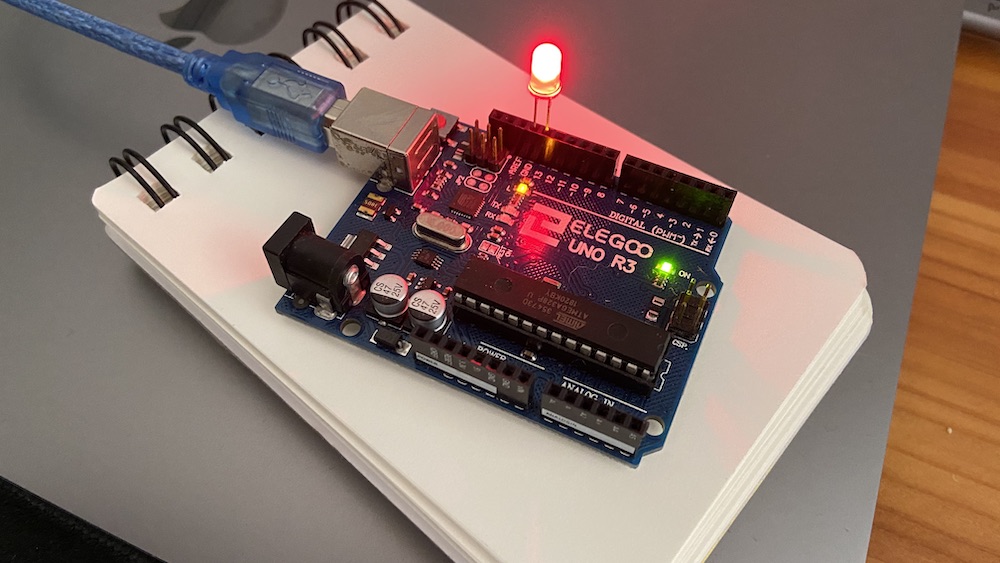
And you should see the led turn on and off!
You can also attach a real LED by connecting the negative pin to GND (0V) and the positive pin to the pin 13:
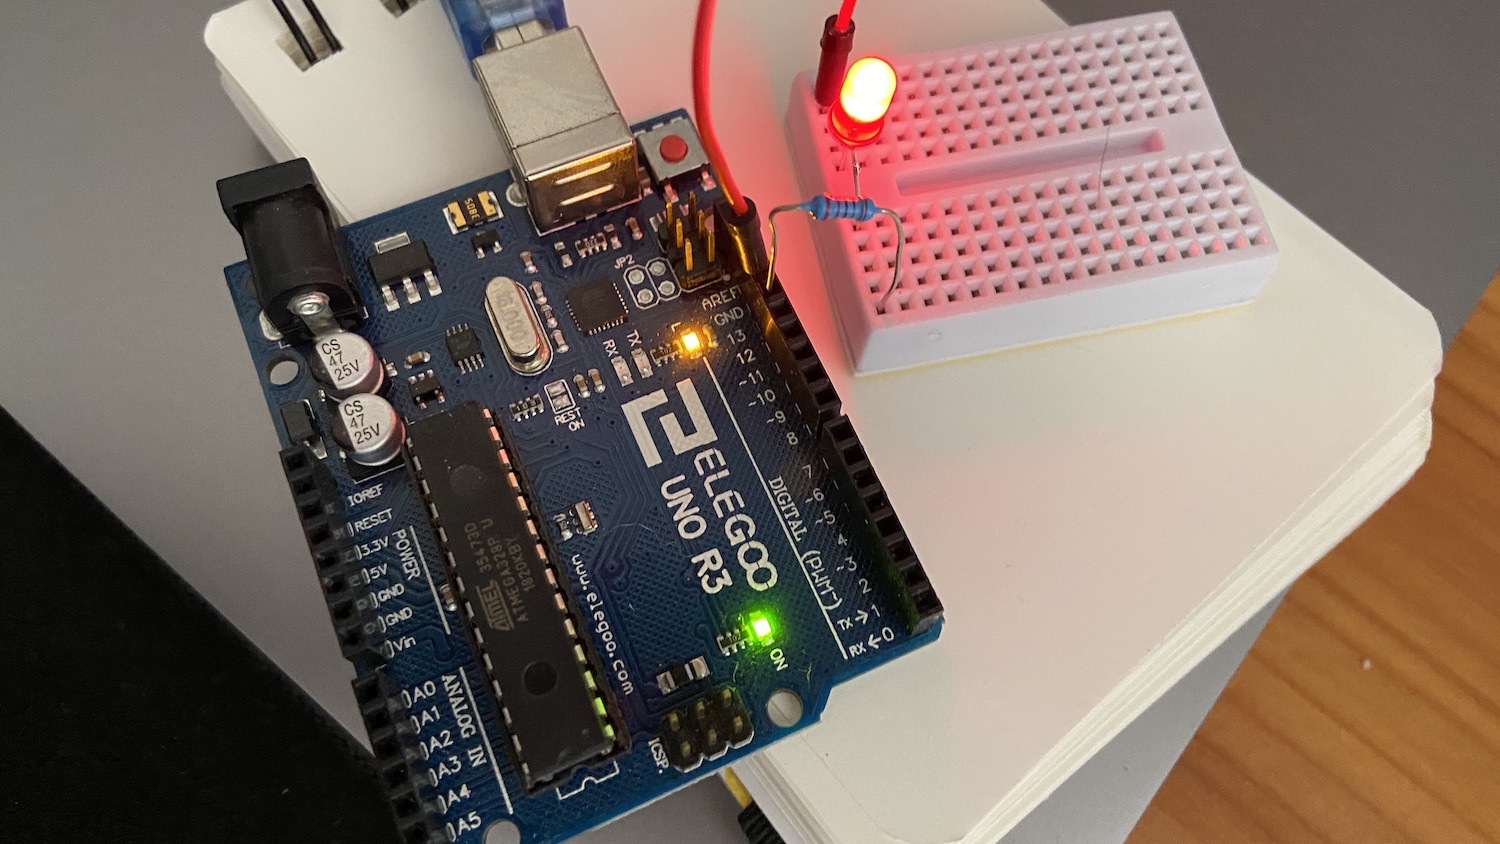
Note that I used a resistor, to limit the amount of current that flows through the LED.
To stop the program from running, hit ctrl-C twice:
Here is how can I help you:
- COURSES where I teach everything I know
- CODING BOOTCAMP cohort course - next edition in 2025
- BOOKS 16 coding ebooks you can download for free on JS Python C PHP and lots more
- Follow me on X