How to create a staging version of your site
New Course Coming Soon:
Get Really Good at Git
A step-by-step tutorial on deploying a version of your website based on a GitHub Pull Request on Netlify
I was in the process of launching a course, and I needed to finalize the landing page that would be up on the “launch day”, without however changing the current version of the site I had up for the public.
I am using Netlify which makes it easy to automatically deploy the website from a Git branch, in my case hosted on GitHub. I will document this process. Other hosting providers that base their CI/CD on a Git repository might have a similar tool in place.
Netlify automatically builds deploy previews for Pull Requests.
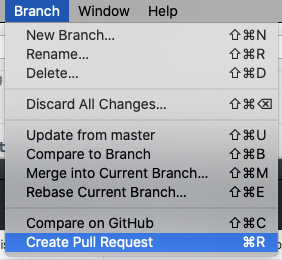
So what I did is, I created a new branch, which I called launch, and started working on it by adding a few commits, then I created a Pull Request, something that GitHub Desktop makes very easy:
Immediately after I sent the PR in, Netlify started its Continuous Integration / Continuous Delivery pipeline:

And switching to the Netlify website, I can see it automatically picked up the Pull Request branch, and started a deploy preview:

After a few minutes, I got a new URL for the website and I used that to go on with the course launch preparation, while the main domain still pointed to the master branch code.
Here is how can I help you:
- COURSES where I teach everything I know
- CODING BOOTCAMP cohort course - next edition in 2025
- BOOKS 16 coding ebooks you can download for free on JS Python C PHP and lots more
- Follow me on X